
NEW STYLE RELID GUIDE
HOW TO USE THE NEW STYLE RELID GUIDE
In an effort to be more precise with the relidding process so as to be compatible with the various Contact Frames on the market I have developed a new relid guide that locates the IHS much more precisely.
Along with the new relid guide I have also designed a new Spyder using an older technique of clamping with all three relid guide screws.
This new Relid guide and Spyder need a little different technique to be used effectively.
To start I will assume that you have already delidded and cleaned the CPU and have the IHS ready (cleaned at least).
For this you're going to need some regular "Scotch" tape or "Office" tape.
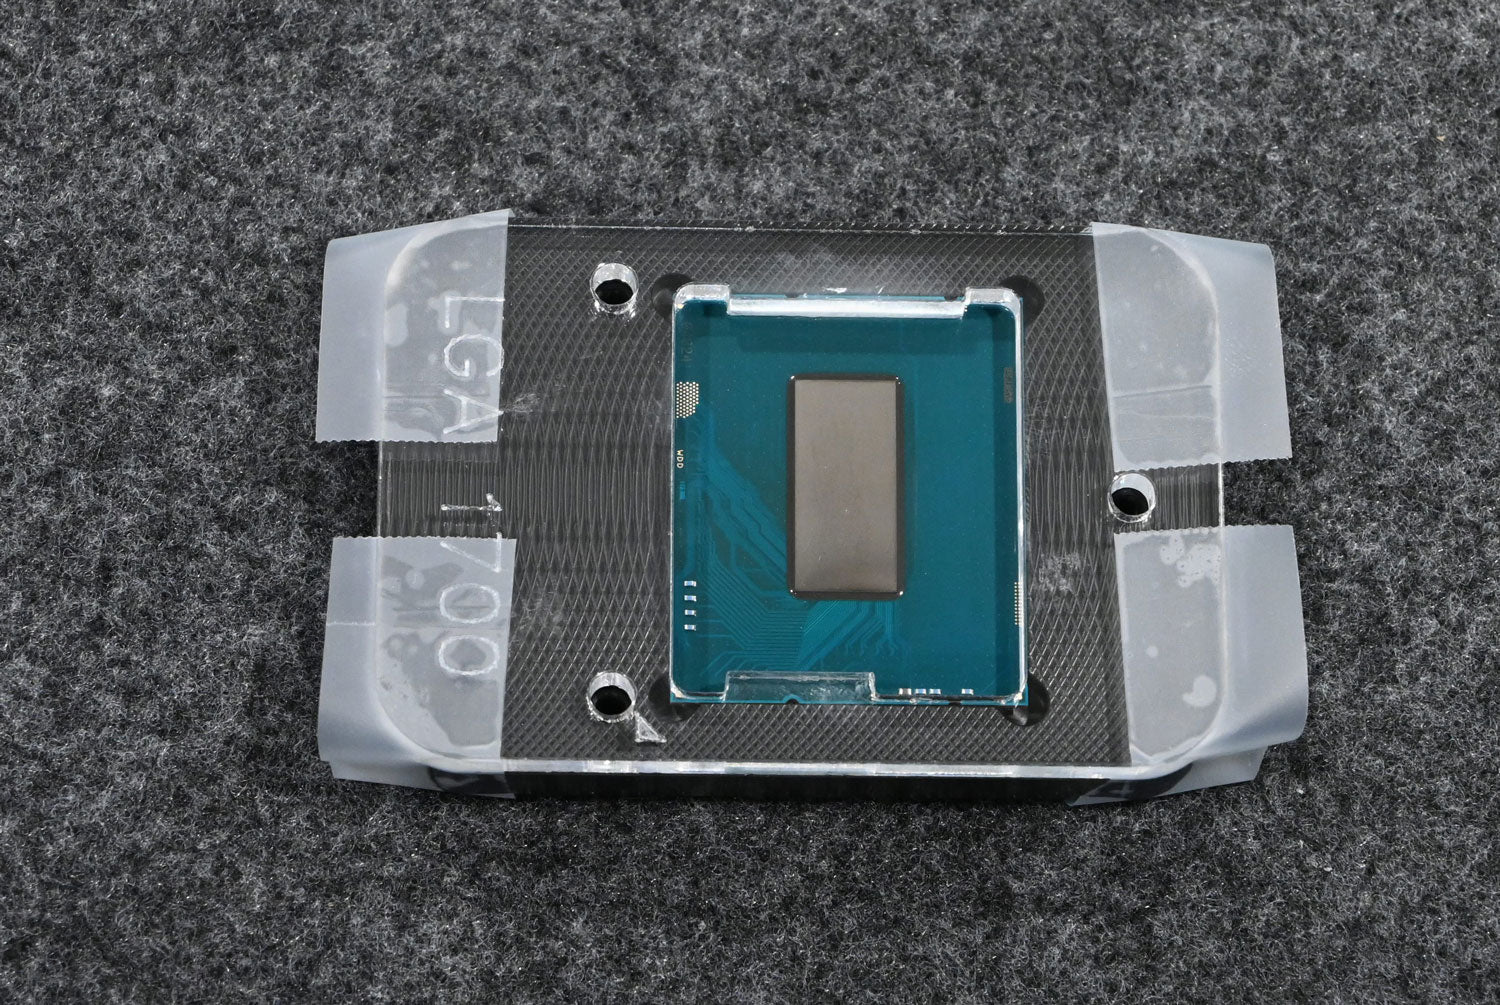
1. Lay the CPU in the delid tool paying close attention to the alignment marks.
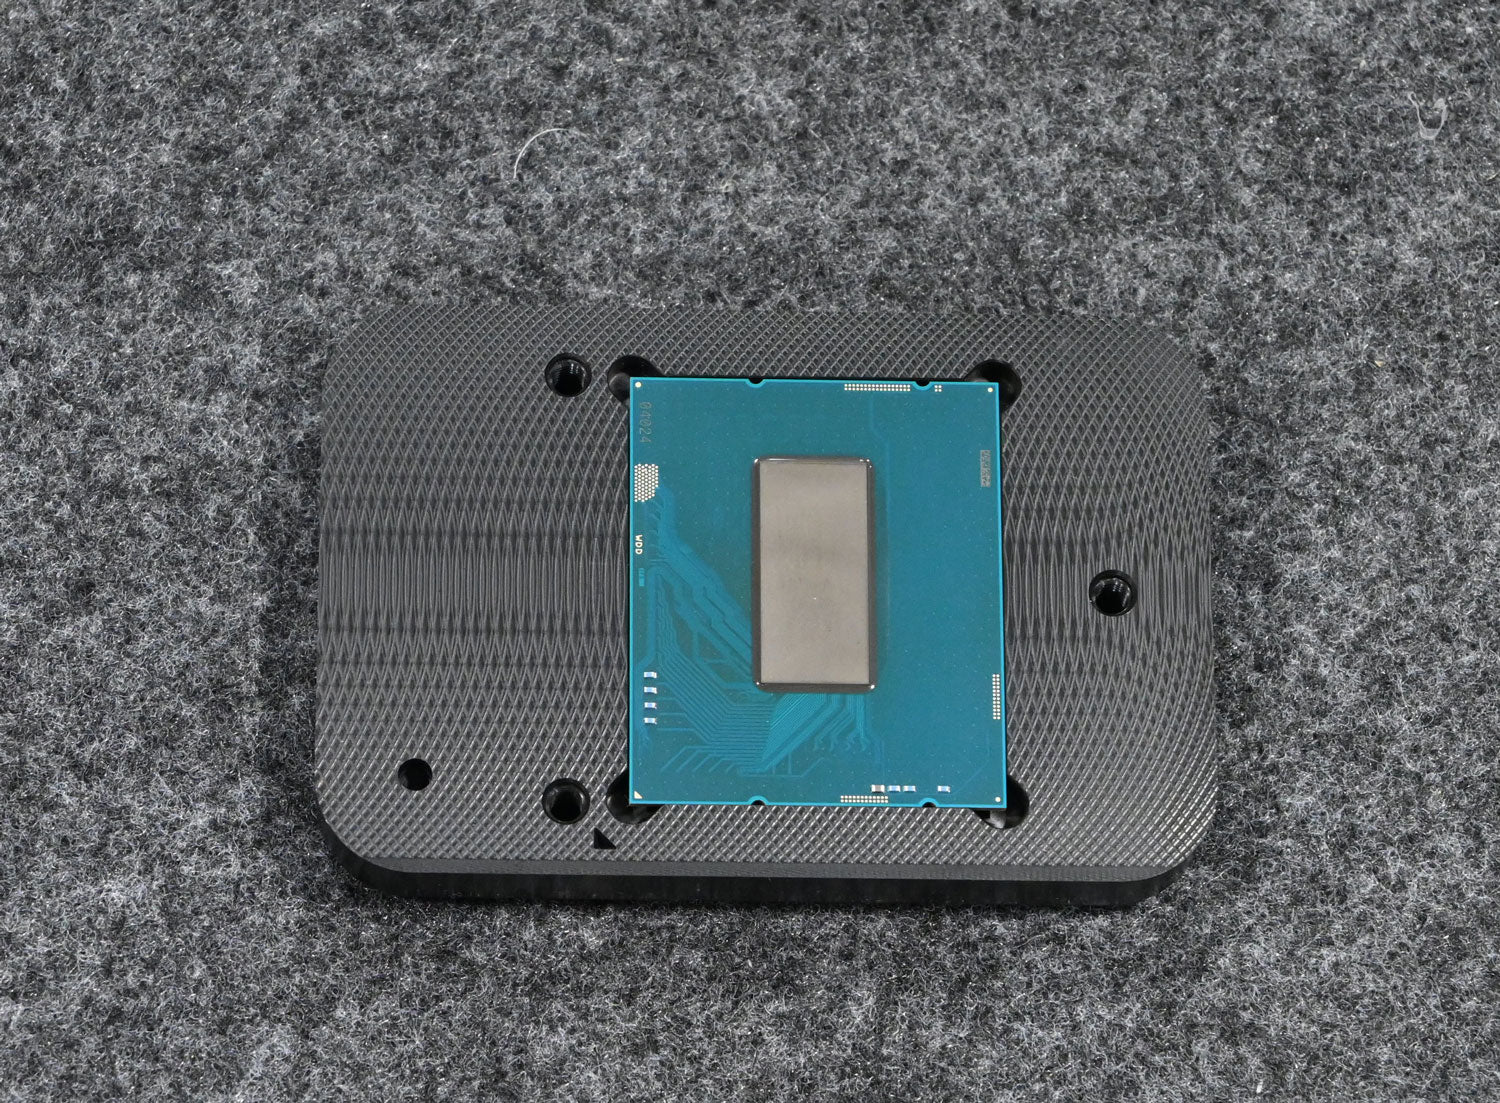
2. Place the relid guide on the delid tool in approximately the correct position.
3. Install two of the delid tool screws and screw them down until they contact the relid guide. The screws are beveled on the bottom and will move the relid guide into position as you tighten the screws. Once snugged down the relid guide will be perfectly located.
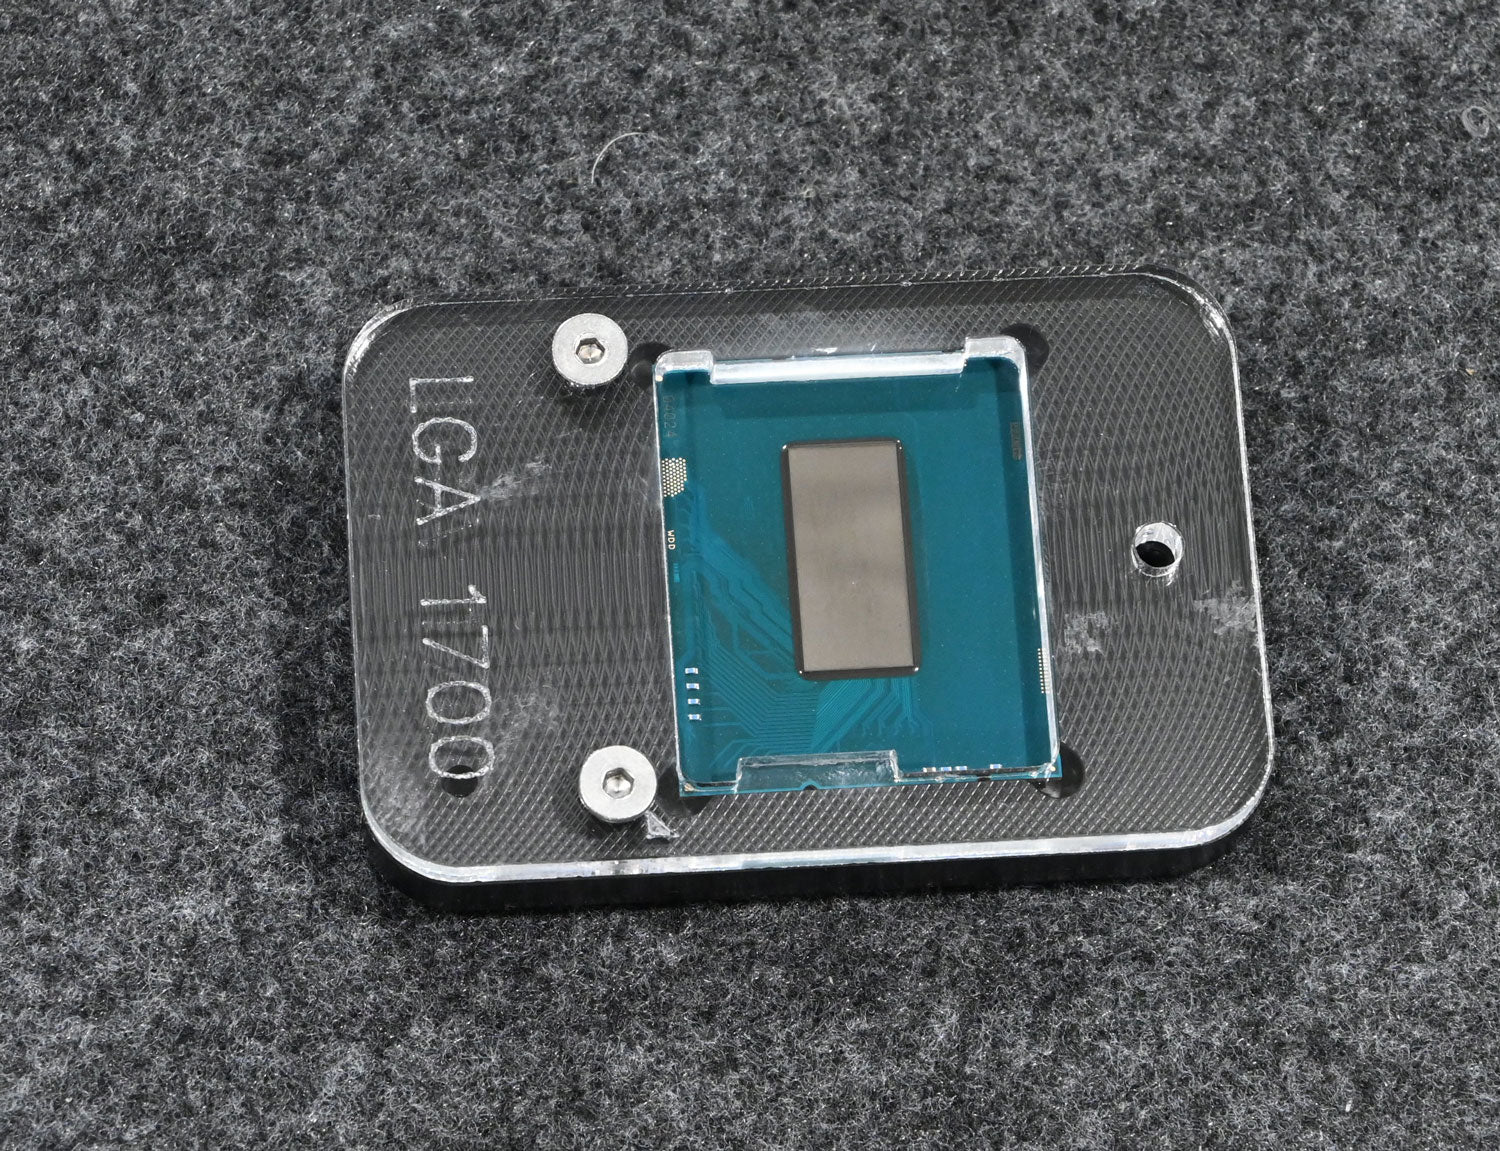
4. Using a 50mm or so length of tape, start on the relid guide and wrap it around the relid guide and delid tool (use enough tape to reach at least half way around the bottom side of the delid tool). Note that I have placed the tape in such a position that part of it is "off the edge". This is to allow for easy removal once the operation is complete.
5. Once the tape is installed to your satisfaction, remove the screws.
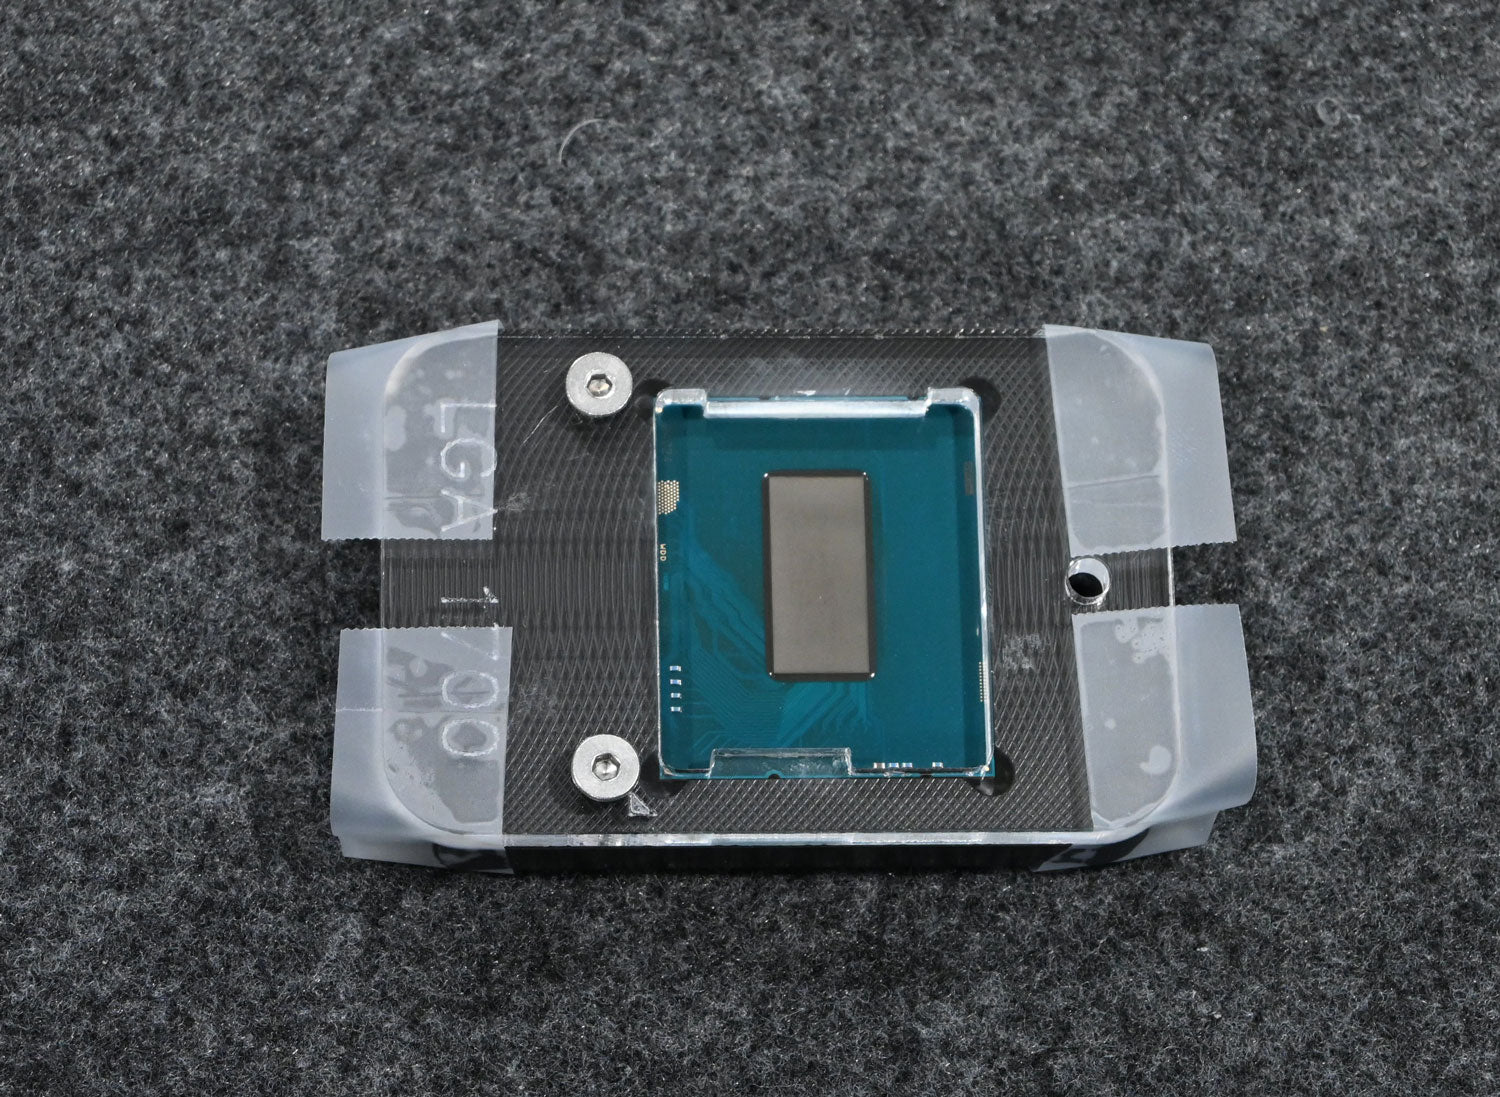
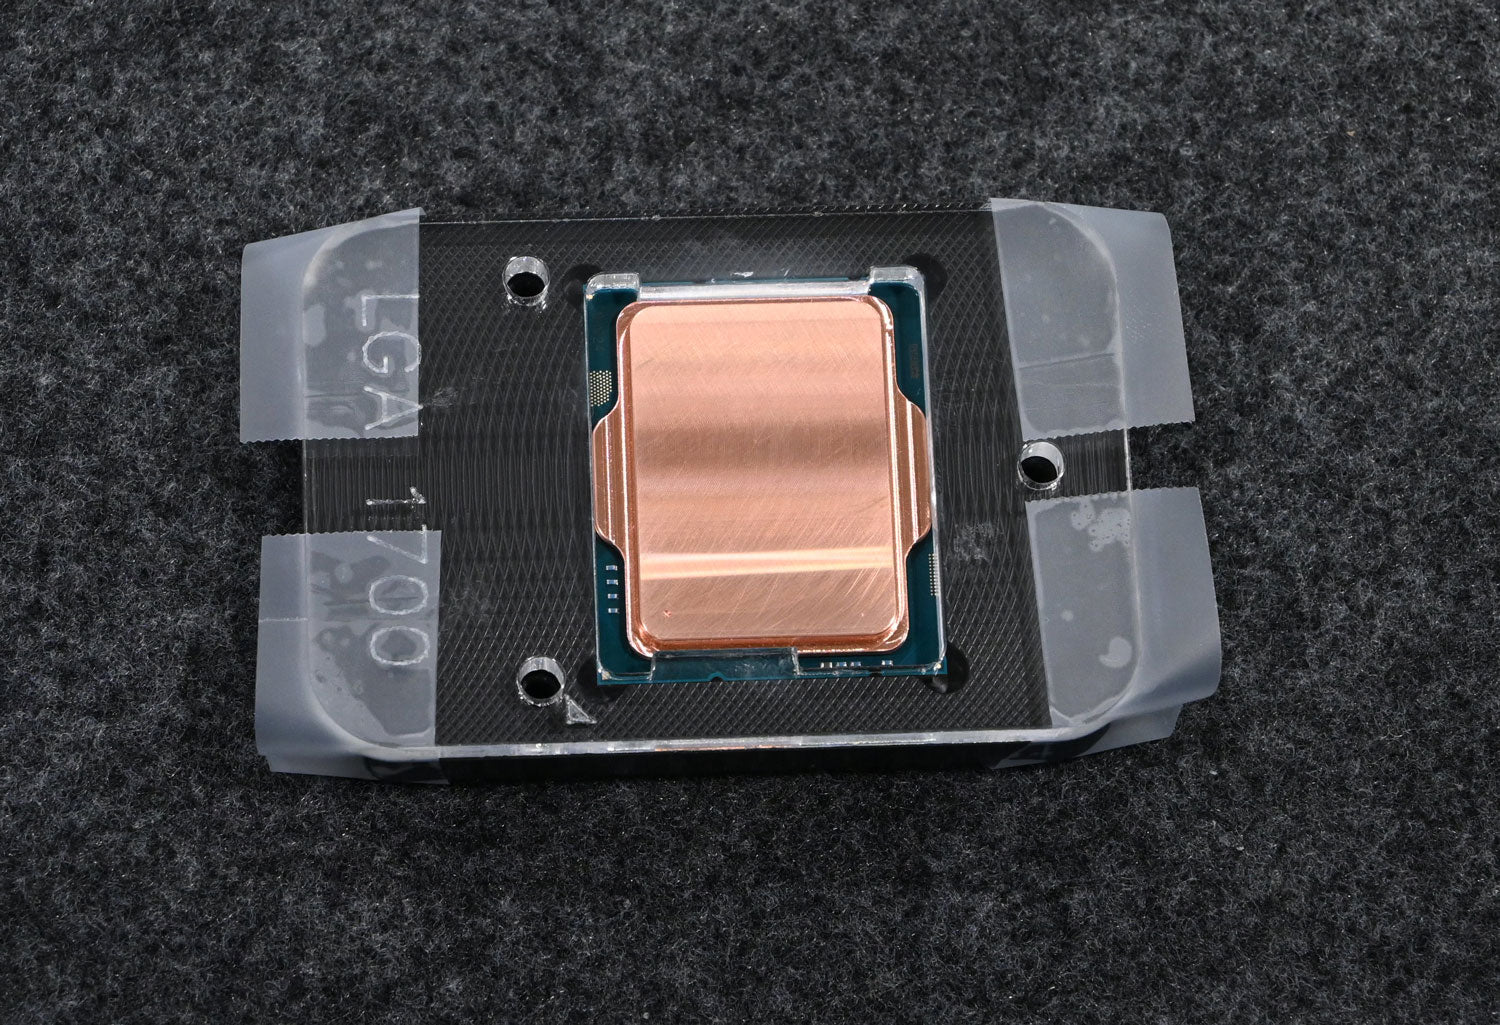
6. After removing the screws, place the prepared IHS in the relid tool being very careful with the alignment marks. Prepared means, TIM applied, Super glue applied and ready to be clamped.
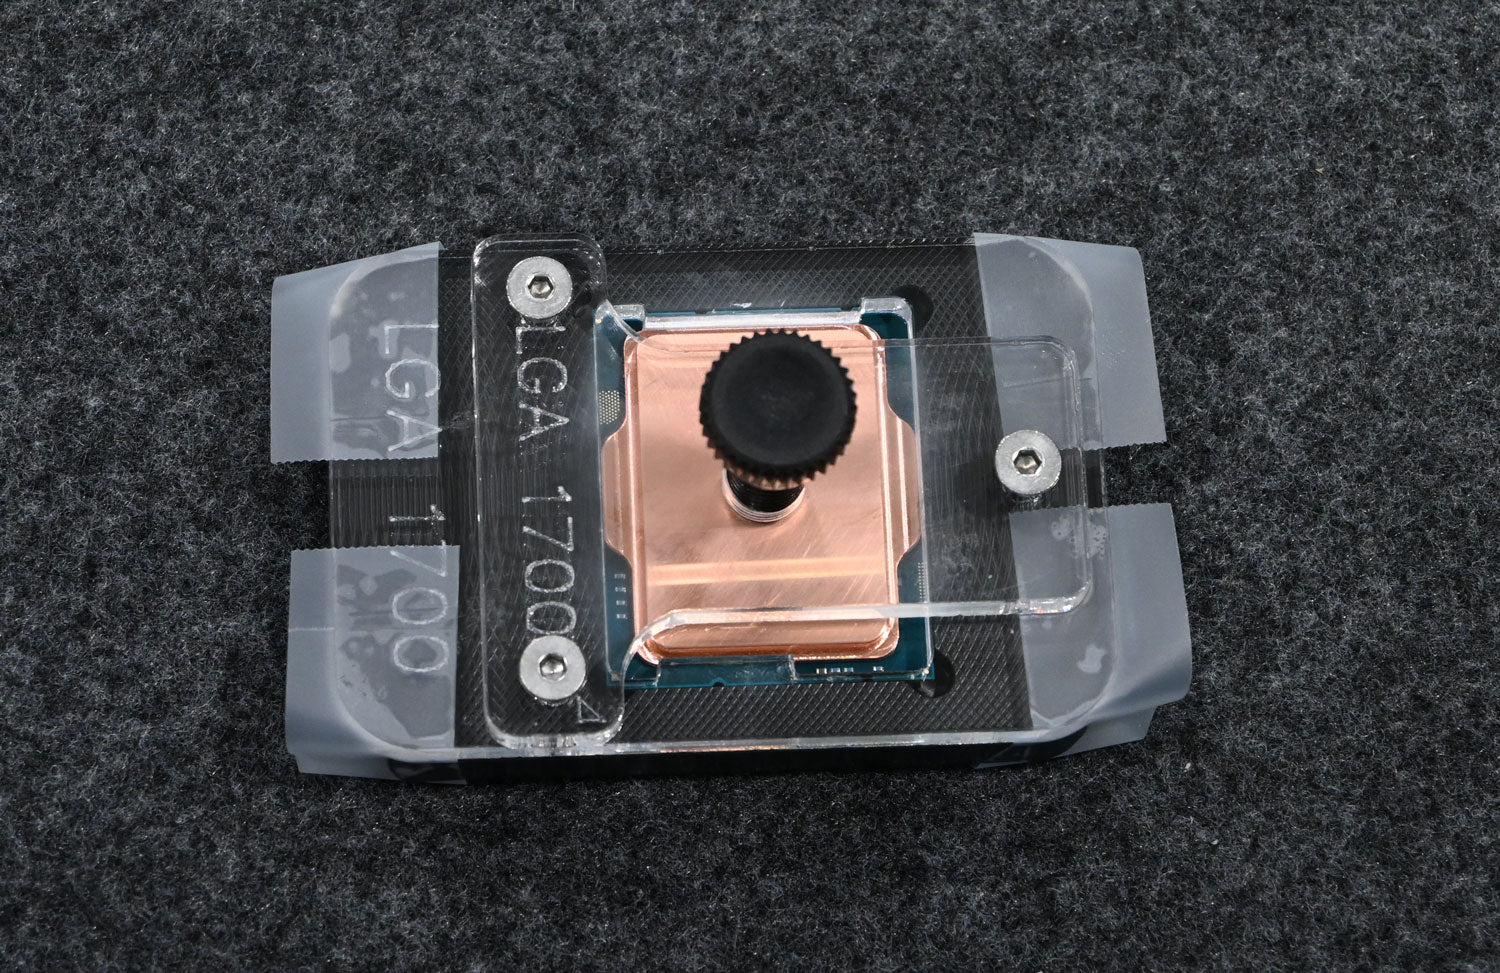
7. Install the relid guide with screws and snug the three screws. Tighten the main screw. I suggest snugging it pretty tight then back off until it's loose then snug it again lightly. This will seat everything but not put too much force on the IHS while the adhesive cures.
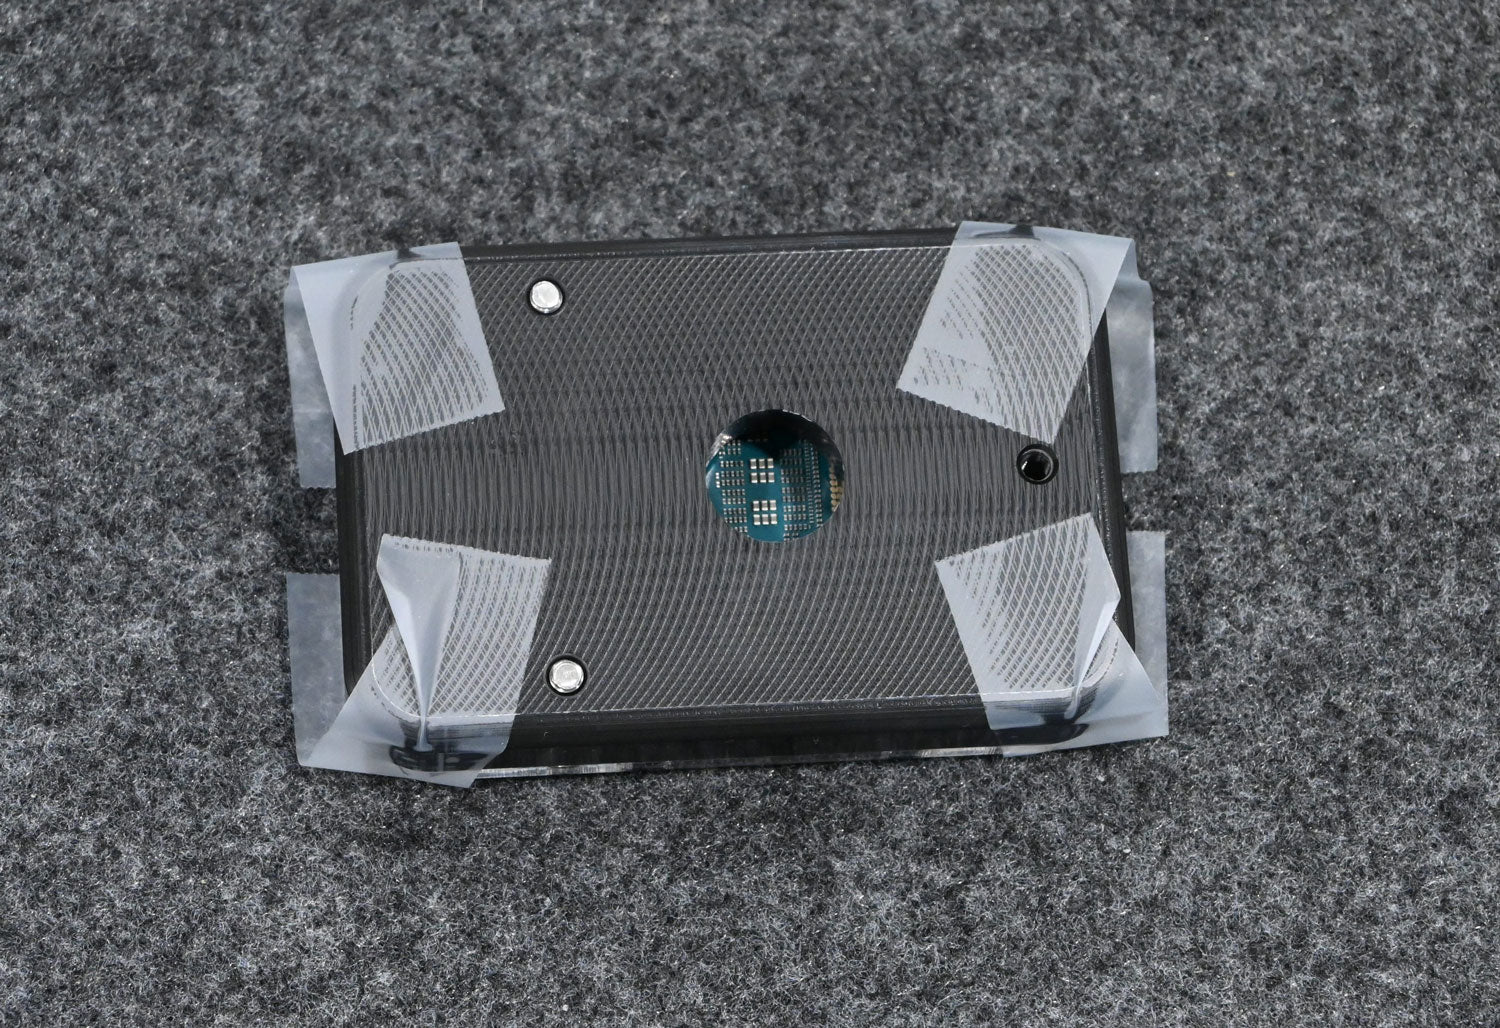
8. Let set for 2 hours or more.
9. Release the main screw and remove the relid guide screws. Remove the spyder and the tape.
10. Remove the relid guide. The CPU may be stuck in the guide because of adhesive seepage. I typically pop the CPU out with my thumb into my other hand so as not to send it flying across the room.
11. Clean any residue with Acetone. Inspect the underside of the CPU. Clean with a cotton swab and Acetone before installation.
The IHS will be located in the perfect position for the Thermalright and Grizzly contact frames.